

How to use TinyPNG API & CLI to Compress Images on Your Computer


TinyPNG is an online service to compress images. It helps reduce the file size of a .JPG or .PNG image file without visible quality loss. With the TinyPNG API and desktop client, you can compress bulk images from your computer. In this tutorial, you will use the TinyPNG client to compress images from your computer.
Requirements
You will need Node.js 16 or later and NPM installed on your computer.
You will need to install Git Bash if you are running Windows 10 or up.
Step 1 - Sign Up for a Free TinyPNG API key
In this step, you will sign up for a free TinyPNG API key which allows 500 image compressions per month. Visit TinyPNG.com Developers page and sign up for a free account by entering your full name and email address.

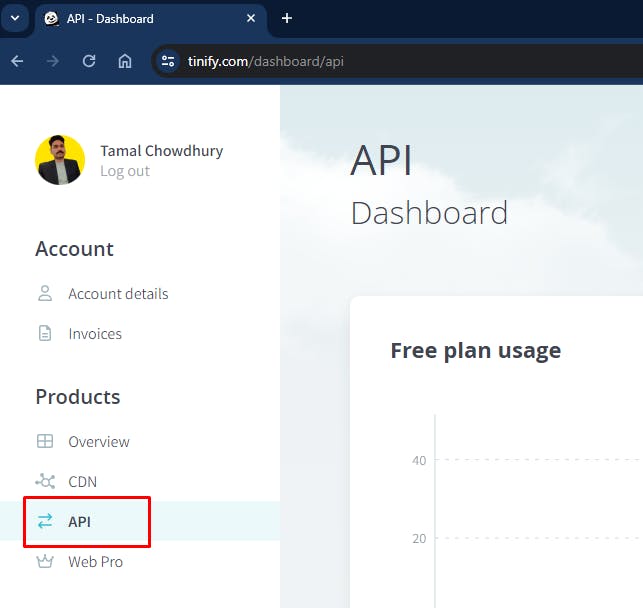
After signing up, log in to your account and visit the developer API section to find your API key:
Now, scroll down the page to find your API key. This is the API key you will use to compress images.
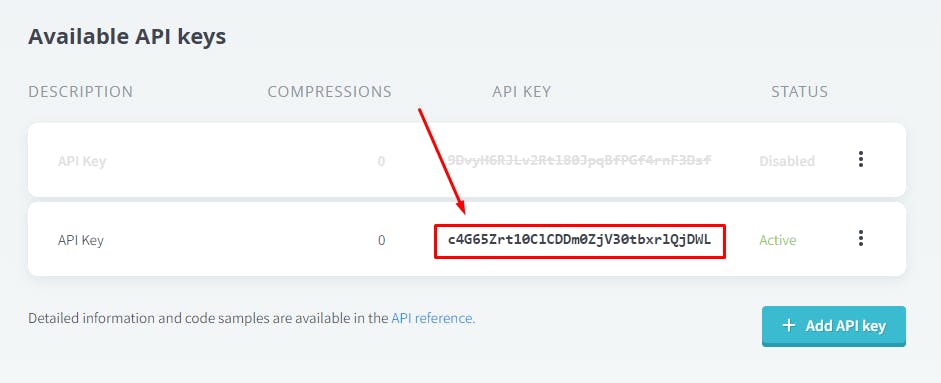
You can copy the key by clicking on it. You can create more keys for various uses by clicking the Add API key button.
In the next section, you will use the new key to use for your TinyPNG client.
Step 2 - Install the TinyPNG CLI on Your Computer
In this step, you will install the TinyPNG CLI tool on your computer.
Open your terminal on Linux or Mac OSX (Git Bash on Windows 10+).
You will install the TinyPNG CLI package from the NPM repository.
To install it on your computer, run the following command:
npm install -g tinypng-cli
The above command will install the tinypng-cli as a global dependency.
Now, you will set up the API key to run this tool from your computer.
Enter the following command to create a new file with the nano command line text editor:
nano ~/.tinypng
The above command will create a new dot file .tinypng under the home directory ~/ of your computer.
Inside the text file, copy and paste the API key you got from step #1:
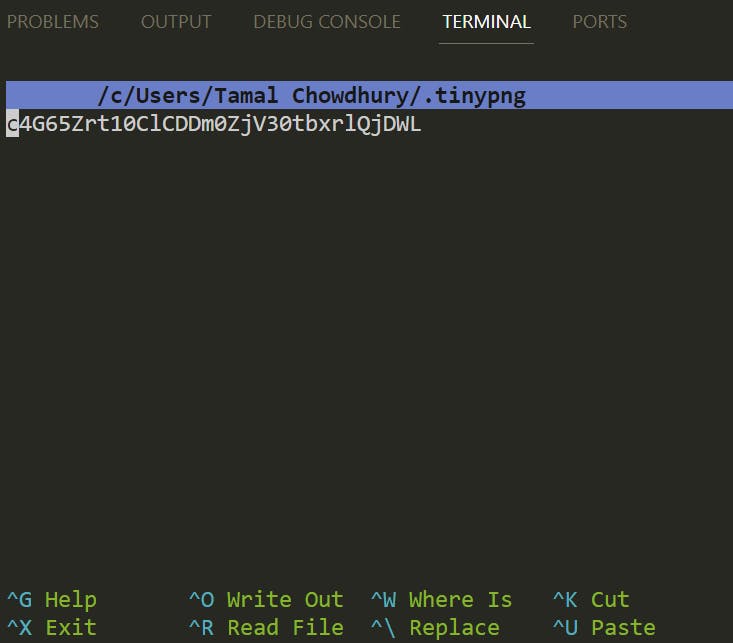
Press Ctrl+O to save the changes. Then press Ctrl+X to exit this file.
You now saved your API key into your computer.
In the next step, you will compress images from your computer with the TinyPNG client.
Step 3 - Compress Images On Your Computer
In this step, you will compress images using the TinyPNG client.
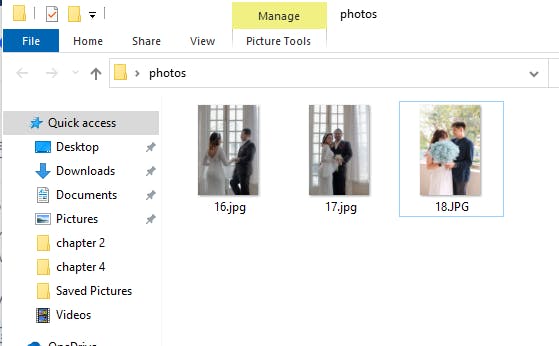
Go to a directory where you have pictures to compress:
Open this directory on your terminal and run the following command:
tinypng
The tinypng CLI sends the images to the server and compresses the images. After a while, you will see a message showing that the compression is complete:
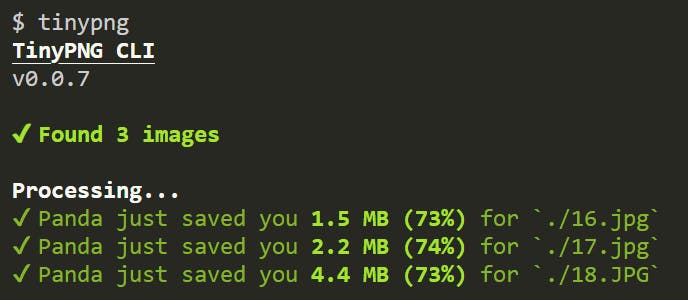
After the operation, you will be left with the compressed versions of the images in your directory.
You can also select one image to compress by specifying it in the CLI tool:
tinypng 16.jpg
The above command will only compress the file names 16.jpg
You are ready to use this tool to compress images in your development workflow.
Conclusion
In this tutorial, you signed up for a free TinyPNG API key. Later you installed the CLI tool on your computer and finally compressed some images. By using this free tool, you will save development time when you want to compress lots of images at once.